1 . Introduction
2 . My Setup
3 . What is BloodHound?
4 . Why use BloodHound?
5 . How to use BloodHound?
6 . Summary
This post is designed to introduce you to the tool BloodHound.

1. Introduction
Welcome to the fifty-fourth blog post of 100 tools in 100 days.
Find BloodHound @ GitHub here.
BloodHound was created by Andy Robbins, Rohan Vazarkar, and Will Schroeder.
2. My Setup
For running the BloodHound tool, I used Kali Linux in a VMware Workstation 16 Player virtualized environment.
For my victim network I am using the TryhackMe room “Post-Exploitation Basics”.
3. What is BloodHound?
Bloodhound is a tool used by security researchers to determine attack paths to domain compromise within an Active Directory environment.
4. Why use BloodHound?
Security administrators would use BloodHound to map out potential attack paths within their environment and then harden or remove those attack paths so that they cannot be compromised.
Penetration testers would use BloodHound to find potential attack paths and then exploit those paths to gain privilege escalation and pivot within a network.
5. How to use BloodHound?
BloodHound uses Neo4j as the database for hosting all of the “loot” extracted from the SharpHound process.
I will begin this tutorial after you have installed Java and neo4j. You can find these instructions here.
BloodHound “loot” is gathered from a PowerShell script called SharpHound. BloodHound cannot function without some “loot” input.
Step 1:
Download the BloodHound repository from GitHub:

git clone https://github.com/BloodHoundAD/BloodHound.git
Step 2:
Copy SharpHound from /BloodHound/Collectors/SharpHound.ps1 to your victim device.

You could use secure copy by entering the following command:

scp SharpHound.ps1 <USERNAME>@<DOMAIN>:<PATH TO DOWNLOAD TO>
Step 3: Following the instructions from the BloodHound 'read the docs
page', download the latest version of BloodHound from
https://github.com/BloodHoundAD/BloodHound/releases.

Unzip the folder, navigate into the folder, and run the following command:

./BloodHound.bin --no-sandbox
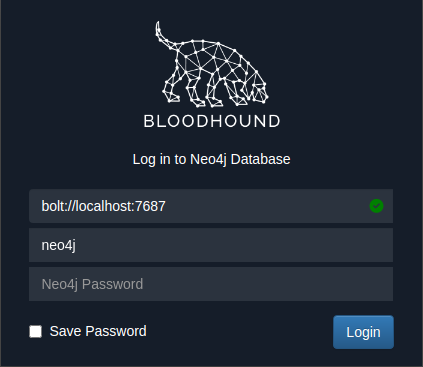
Sign in to BloodHound using your Neo4j credentials which were set during the Neo4j installation steps from here.

You should see BloodHound pop up with a username/password prompt. If there is not a green check next to the Neo4j server address try the following in your terminal: sudo systemctl stop neo4j && sudo systemctl start neo4j.
Step 4:
On your victim device upgrade your terminal to a PowerShell by entering the following:

powershell -ep bypass

Step 5:
Run SharpHound on your victim device by entering the following commands:

. .\SharpHound.ps1

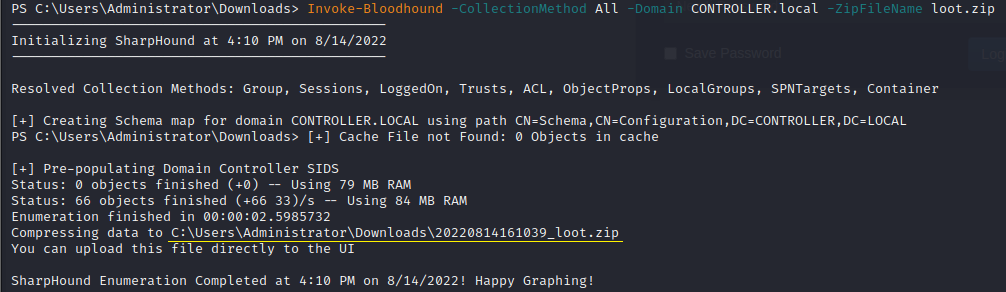
Step 6:
Run the collection method to gather "loot" for BloodHound to analyze:
Invoke-Bloodhound -CollectionMethod All -Domain DOMAIN.LOCAL.NAME -ZipFileName yourchoice.zip
Step 7:
On your attack device in the terminal run the following command to
securely copy the zip file over:

sudo scp <USERNAME>@<DOMAIN>:/DRIVE LETTER:/path/to/file .

Step 8:
if you are not root, change ownership of the downloaded zip file to your
Kali user by entering the following command:

sudo chown <YOUR-USER_NAME> <ZIP_FILE_NAME>

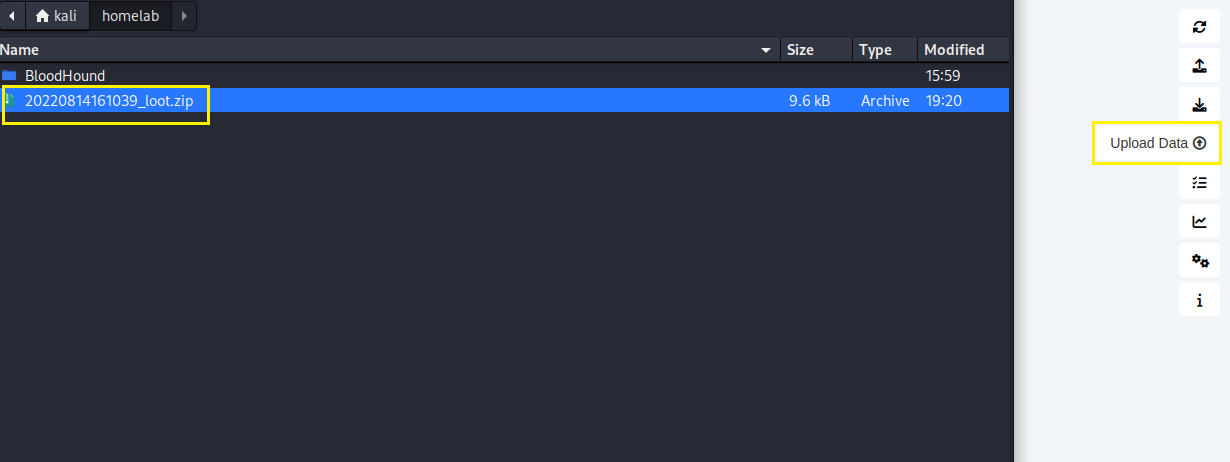
Step 9:
In BloodHound click "Upload Data" and choose the zip file from step 8.
You should see progress bars for the .JSON files uploading into the database, if you see anything else or nothing else, ensure you have changed the ownership of the zip file to the user running BloodHound, for me that is kali.

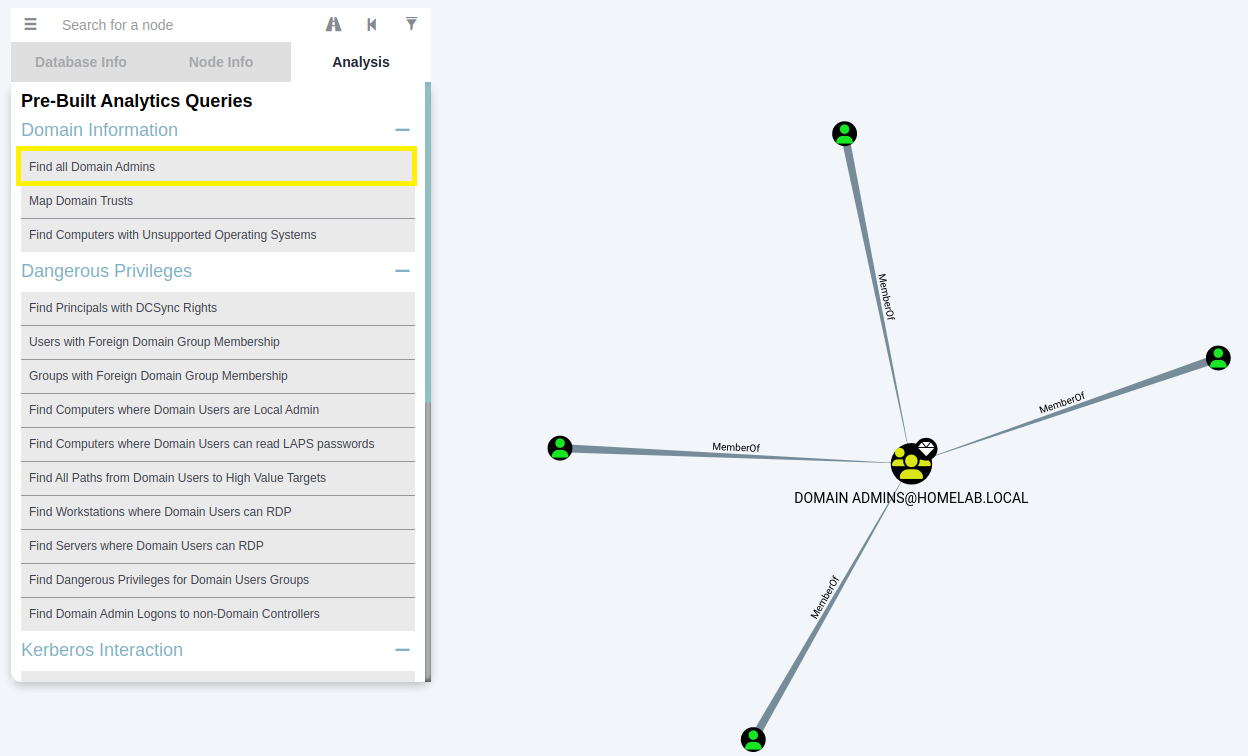
Step 10:
Now that the data is imported you can view all Domain Admins by clicking
"Find all Domain Admins" in the Analysis section of the search function.
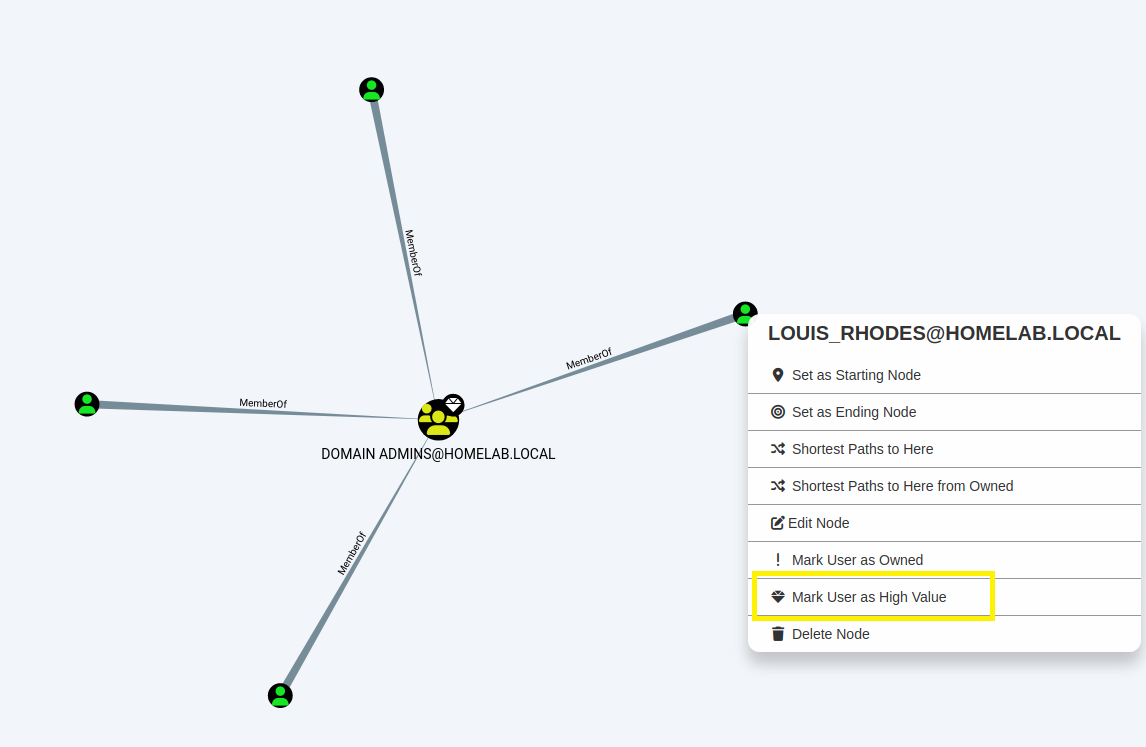
Step 11:
You could mark each Domain Admin as a "High Value" for further analysis,
by right clicking on the Admin and choosing "Mark User as High Value".
Step 12:
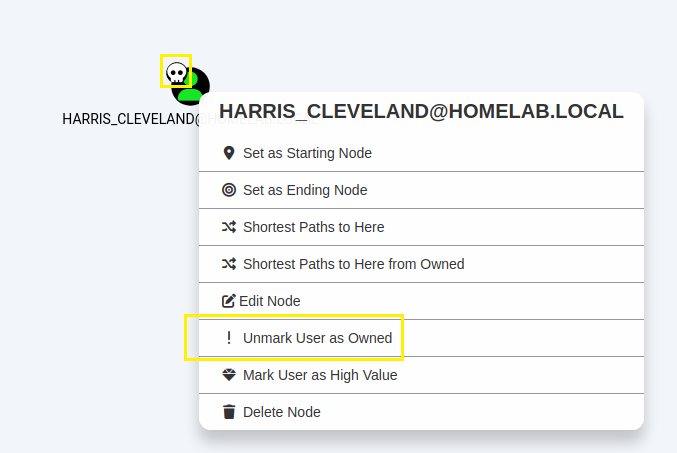
You can find the user that you have control of by typing the username in
the 'Search for a node" section of the search function. Additionally,
by right clicking the user you can choose "Mark User as Owned" for further
analysis.
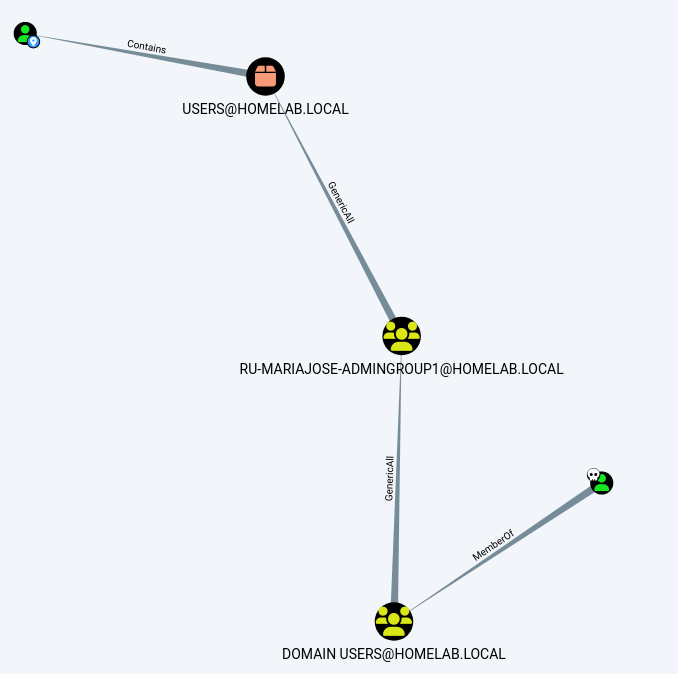
Step 13:
You can right click most items and choose "Shortest Paths to Here from
Owned" which will show you attack paths from your owned user accounts to
selected.

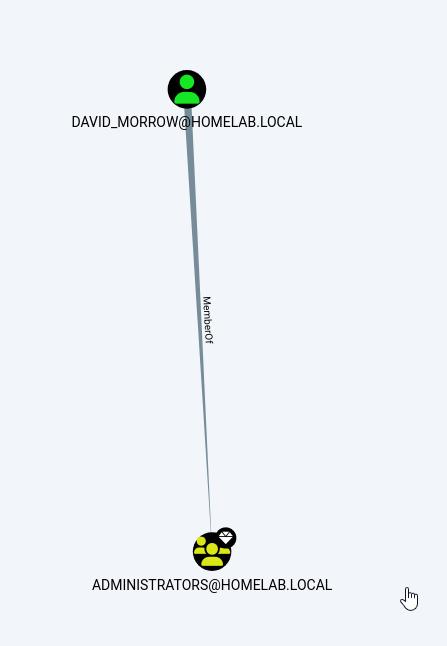
Step 14:
Finally, you can find Kerberoastable accounts linked to high value
groups, like Administrators, by clicking "Find Kerberoastable Members of
High Value Groups".
This is just a surface overview of BloodHound and its accompanying SharpHound collector used for understanding an Active Directory environment’s potential attack paths. Further research and analysis are required to make conclusive evidence of attackable paths.
6. Summary
BloodHound and SharpHound are more advanced tools for discovering attack paths within an Active Directory environment. Security Researchers and Penetration testers can use these tools to understand environment’s they are working on and either attack or secure those paths.
I hope you enjoyed this blog post.
Thanks for reading!
If you have suggestions for what tool to cover next, contact me!