1 . Introduction
2 . My Setup
3 . What is Nessus?
4 . Why use Nessus?
5 . How to use Nessus?
6 . Summary
This post is designed to teach you what the tool Nessus accomplishes and how to use it.

Nessus Download
1. Introduction
Welcome to the fifth blog post of 100 tools in 100 days.
In this post and concurrent posts, I will introduce you to a tool in Kali or Parrot Linux.
I will discuss use cases for the tool.
Finally, I will show a quick how-to to get you started using it.
2. My Setup
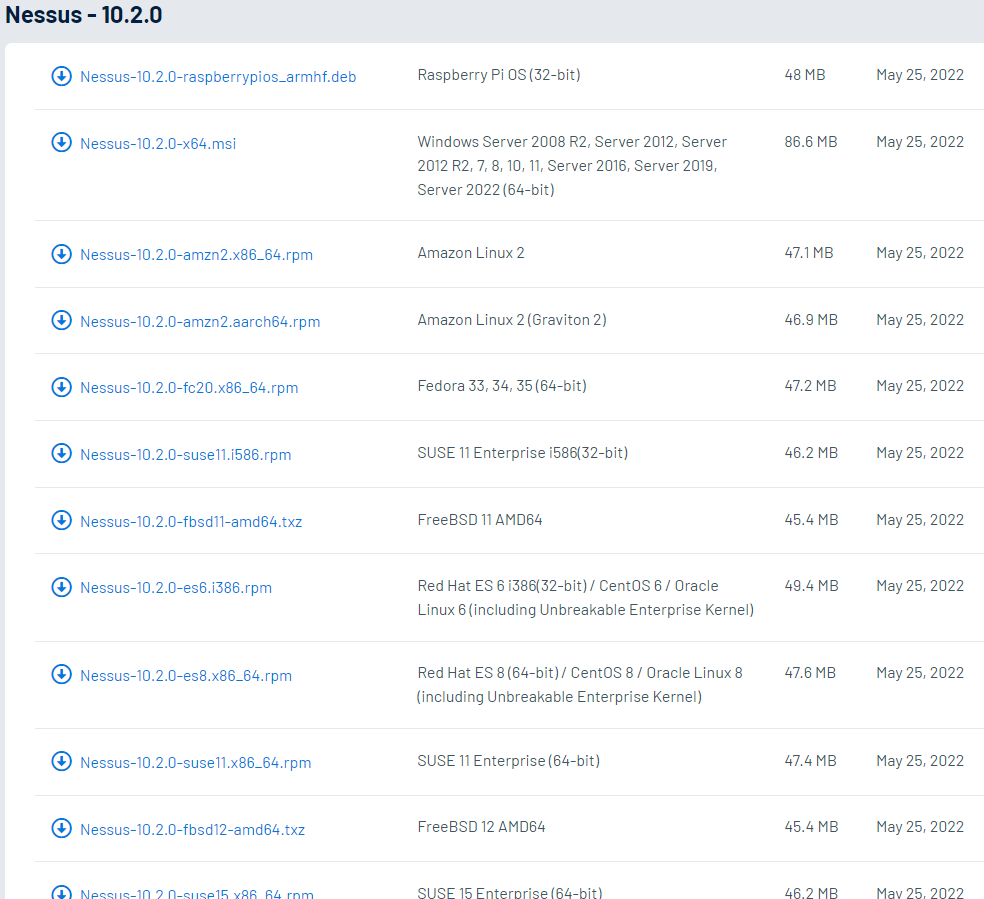
You can install Nessus Essentials on virtually any available device.
Nessus is even supported on a Rasspberry Pi.
You probably would not want to install Nessus on a cellphone as that would limit its capabilities.
See the screenshot below of just some of the Operating Systems and distributions Nessus runs on.
I installed Nessus on a Windows 10 machine.
Only the Essentials version of Nessus is free and it is limited to scanning only 16 hosts. If your network is larger than 16 hosts then this would limit your scanning.
3. What is Nessus?
I talked a lot about scanning and what Nessus Essentials’ capabilities are.
However, I haven’t discussed what the tool does!
Nessus is a high-speed vulnerability assessment scanner.
Tenable says that Nessus features:
Find Nessus on the Tenable website here.
4. Why use Nessus?
Simple - Find vulnerabilities across your network.
Disclaimer:
Nessus does perform an indepth scan of all IP’s (assigned), ports and services discovered. This sometimes can lead to services crashing, alerts generated, etc.
5. How to use Nessus?
Step 1:
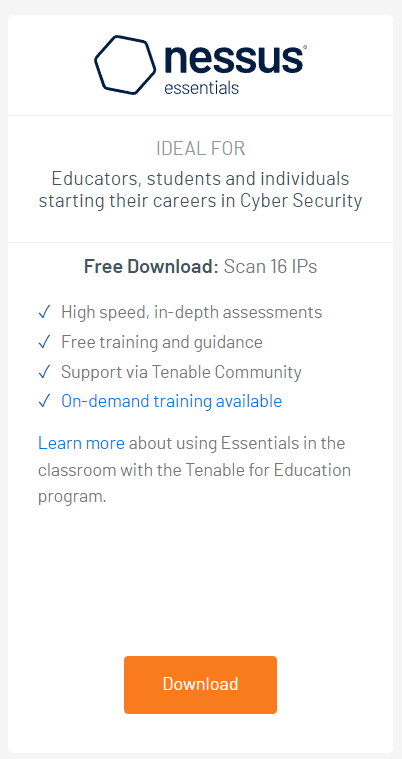
You need to sign up for an activation code through the Nessus website.
Sign Up @ Tenable Site Here
Step 2:
Click download and fill in your information and email address
to receive an activation code and continue to the download page.
Step 3:
If you are using Windows you want the 'Nessus-10.2.0-x64.msi' for:
Windows Server 2008 R2,
Server 2012, Server 2012 R2,
7, 8, 10, 11, Server 2016,
Server 2019, Server 2022 (64-bit)
If you are using Linux follow these instructions.

Step 4:
Install Nessus as you would any other installer.
Once Nessus completes installation
it should open a browser pointed to this link:
https://localhost:8834/WelcomeToNessus-Install/welcome

This link usually ends up giving the following error:
{"error":"The requested file was not found."}

Instead navigate to:
https://localhost:8834
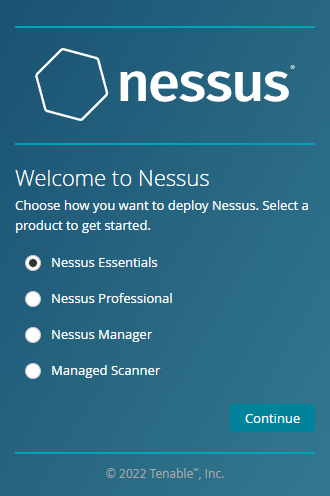
Step 5a:
Now you should see the initial setup page for Nessus.

Choose Nessus Essentials and click continue.
Step 5b:
Click "Skip" if you already have your activation code or fill out the Fist/
Last/Email fields to receive your code.
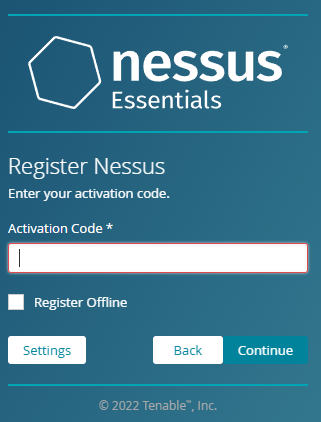
Step 5c:
Enter your activation code and click continue.

Create and remember your username and password.

Nessus will initialize which may take some time (mine took 10 minutes).

Step 6:
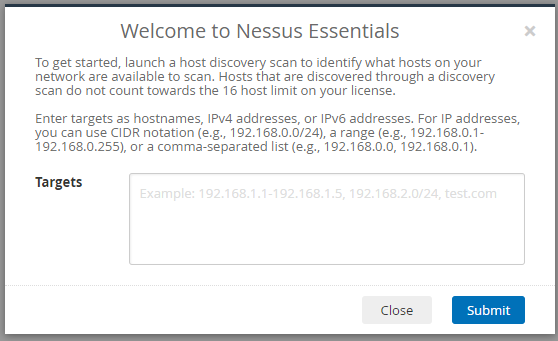
Now that Nessus is initialized you should see the host discovery targets
prompt.
This is where you can discover up to 16 hosts on a network.
Note:
Say you have a CIDR 24 network with 256 potential IP addresses but only have 6 devices, you could either list each device (host) IP individually if you know them or tell Nessus to scan your entire CIDR range (example: 192.168.0.0/24).
The 16 host limit for Nessus essentials only applies to each host scanned for vulnerabilities.
Step 6 (continued):
Input the IP address, range, or CIDR of your network you want to scan in the
targets box and click submit.
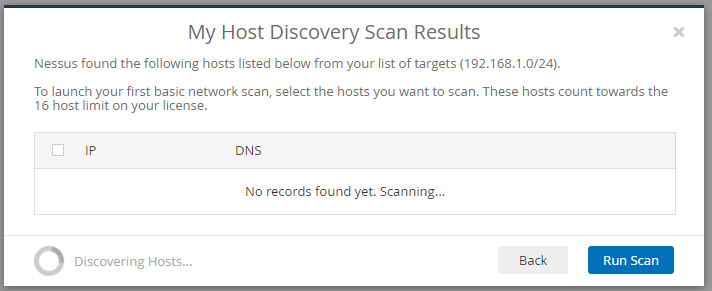
Step 7:
Allow the host discovery scan to complete. This may take some time depending
on your network.
Step 7 (continued):
If you need to perform the host discovery scan again you can always click My
scans and hit the 'Play' button as shown below.

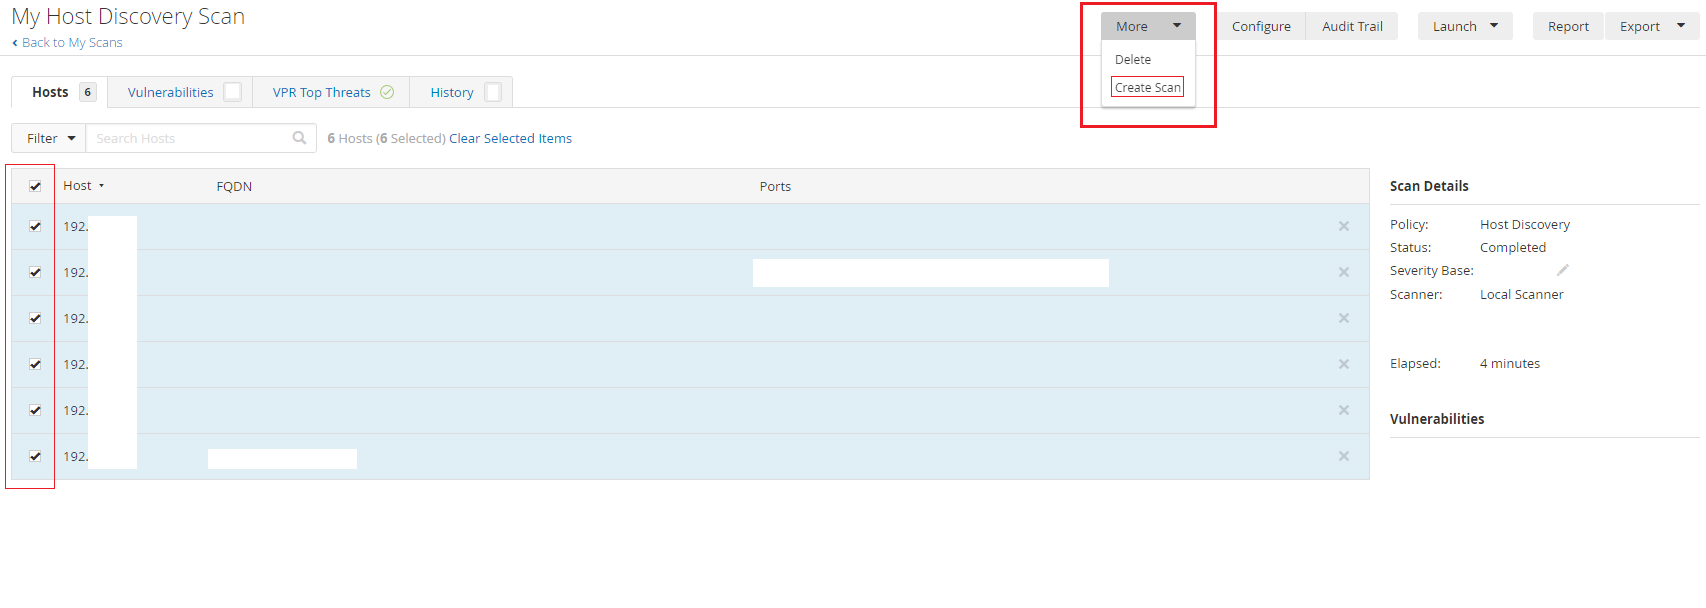
Step 8:
Once the basic host scan is complete take a look at discovered hosts by
clicking on the scan.

You may have noticed check boxes next to the hosts.
Click the ones you want to perform a vulnerability scan on.

Then click the "More" drop-down menu that appears in the top right.

Click "Create Scan"
Step 9:
For this brief Nessus overview, we are going to perform a "Basic Network
Scan".

Click "Basic Network Scan"

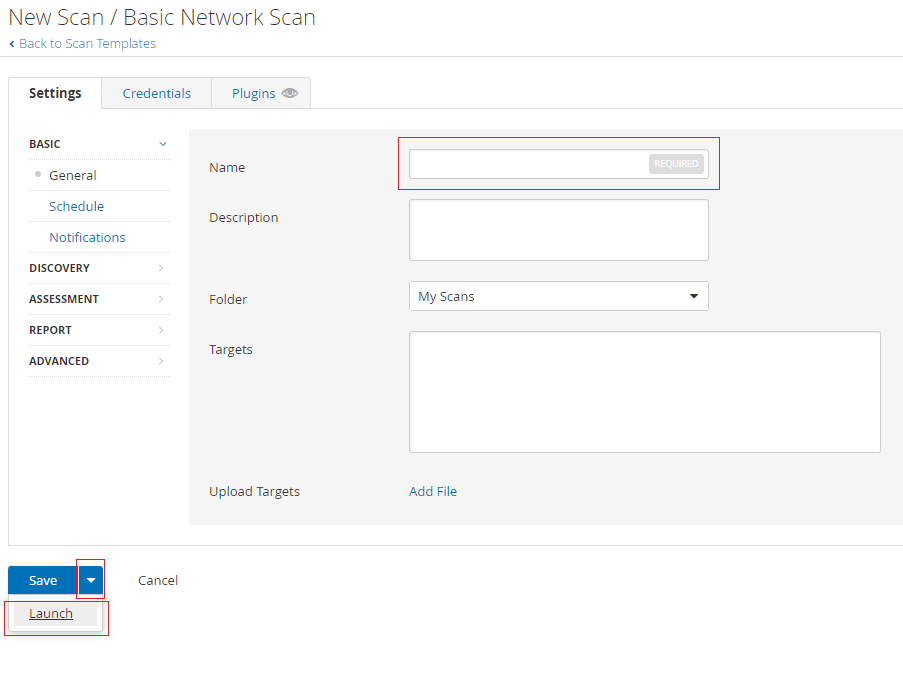
Step 10:
Every Nessus scan requires a "Name" as well as "Targets".
You should have your targets filled in from the previous screen where you
checked boxes next to hosts discovered.

Give the scan a Name.

Click the drop-down arrow next to "Save".
Click "Launch"
Step 11:
The scan should launch and you will be taken back to the "My Scans" page.

As long as the green refresh icon is circling, or you see a greyed-out
"Pause" or "Stop" button the scan is active.

Wait for the scan to complete.

Depending on the number of hosts chosen, the scan can take some time.

Step 12:
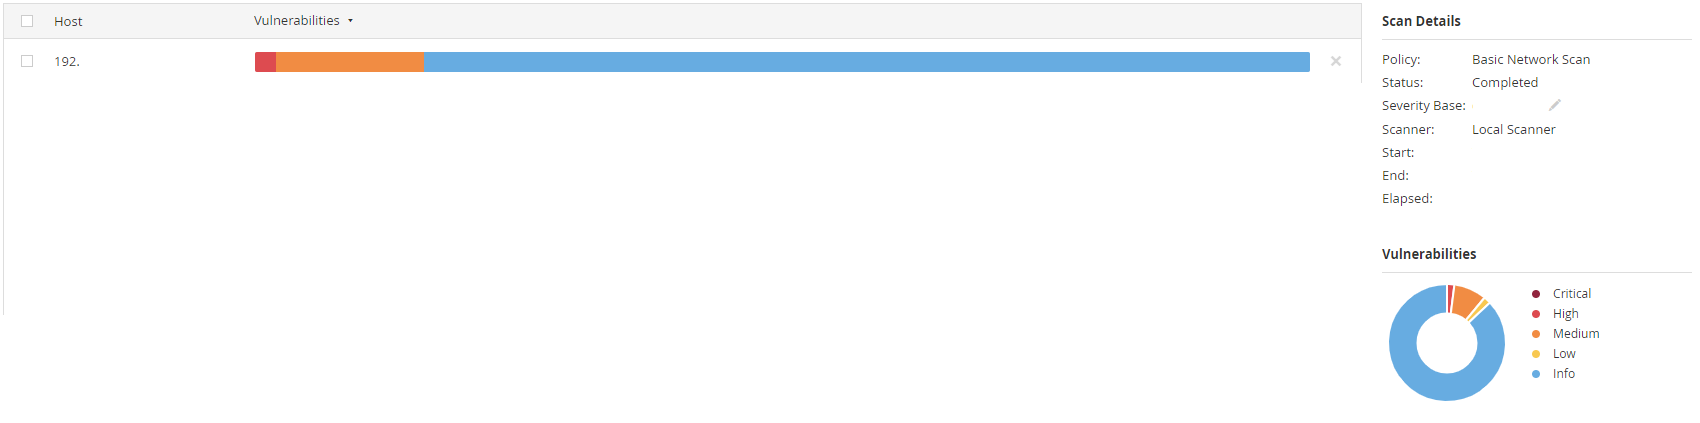
If you click on the scan (even while it is scanning) you can view the results of what Nessus has found.
Nessus displays vulnerability severity on a color/numeric scale from Information -> Critical.
Step 13:
You can view the vulnerabilities by clicking on the host.

Once in the vulnerability menu you will see each vulnerability by severity
CVSS if applicable, and how many counts of the vulnerability exist on the
host.
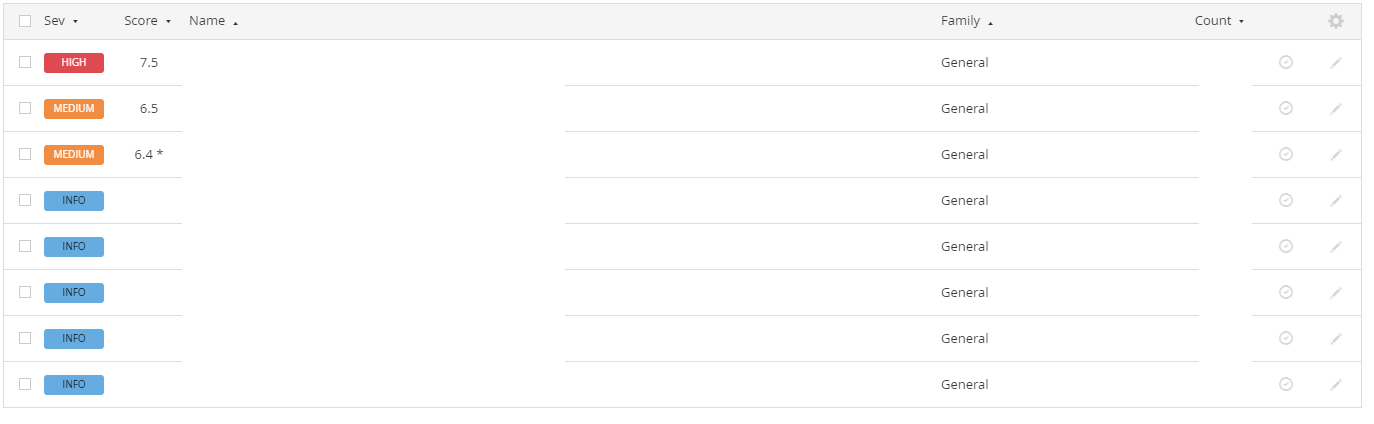
This is the most important part!
Step 14:
Clicking on a vulnerability gives you:

- Description of the vulnerability.
- Solution.
- CVSS score.
- CVE reference so you could research about how exploits work against the vulnerability.
With this information, you can now perform system hardening either following the solution that Tenable has given or by researching on your own.
Go have fun scanning your own networks and seeing how hardened your attack surface is!
6. Summary
This blog post showed you a very brief overview of what Nessus is, and some of its capabilities.
We briefly discussed how to set up and run Nessus on a Windows device. Though it can run on nearly any equipment.
I suggest you perform a more in-depth analysis of your vulnerabilities by performing some of the other scans Nessus has available.
More resources can be found on the Nessus website here.
Thanks for reading!
If you have suggestions for what tool to cover next, contact me!