1 . Introduction
2 . My Setup
3 . What is Kismet?
4 . Why use Kismet?
5 . How to use Kismet?
6 . Summary
This post is designed to teach you what the tool Kismet accomplishes and how to use it.
1. Introduction

Welcome to the fourth blog post of 100 tools in 100 days.
In this post and concurrent posts, I will introduce you to a tool in Kali or Parrot Linux.
I will discuss use cases for the tool.
Finally, I will show a quick how-to to get you started using it.
2. My Setup
For running the Kismet tool, I used Kali Linux in a VmWare Workstation 16 Player virtualized environment.
For my network card, I used an Alfa Network AWUS036NHA USB card in monitor mode.
You can find that exact card here on Amazon.
Note: For you to use Kismet you will need a wireless card that has monitor mode.
The majority of wireless cards do not have monitor mode.
Please see an article here on monitor capable wireless cards.
3. What is Kismet?
“Kismet is a wireless network and device detector, sniffer, wardriving tool, and WIDS (wireless intrusion detection) framework.” - Kismet website.
Basically, Kismet allows you to see and analyze wireless networks around you.
Also, Kismet can act as an intrusion detection device to increase security on your network. See more on that here.
Find Kismet at the creator’s GitHub here or their website here.
4. Why use Kismet?
For personal use:
For professional use:
-
Penetration testing on approved infrastructure.
-
Determine if hidden devices have been set up in your area of operation.
-
Wireless intrusion detection service.
There are many uses for Kismet, more uses than I can go over in this concise and simple blog post.
If you are interested in WiFi management and information I suggest you look more into the uses Kismet offers.
Disclaimer:
Please only use Kismet for testing and understanding wireless networks you have explicit legal access to.
5. How to use Kismet?
Kali or ParrotOS
Step 1:
You need to ensure your wireless card is in monitor mode.
Run the following command in your terminal window:
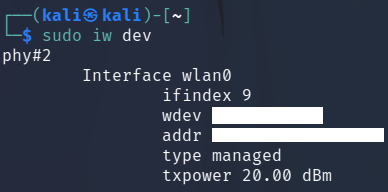
sudo iw dev
This command gives you an output of your wireless devices and their name.
Below you will see that my card ID is wlan0 and in managed mode.
Note the ID of your card.
Step 2:
Place your wireless card in monitor mode, using the ID of your card found in Step 1.

Run the following commands:

sudo ip link set wlan0 down
sudo iw wlan0 set monitor none
sudo ip link set wlan0 up
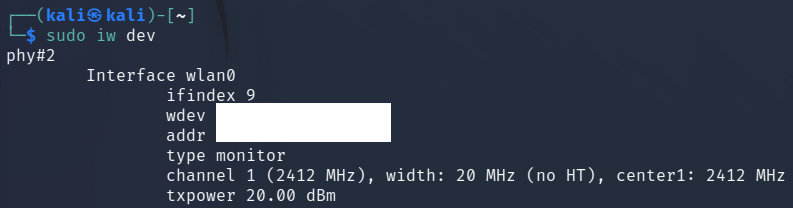
Step 3:
Finally, verify your card is in monitor mode by running step 1:

sudo iw dev
Step 4:
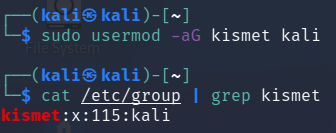
On Kali and ParrotOS Kismet comes installed and the service has its own group ID.
Therefore, we have to add our user to the group.
sudo usermod -aG kismet <username>
You are finally ready to use Kismet!
One More Time, Disclaimer:
Please only use Kismet for testing and understanding wireless networks you have explicit legal access to.
Step 5:
In a terminal window run the following command to start Kismet.

kismet -c wlan0
Step 6:
The terminal points you to the web GUI for Kismet.

http://localhost:2501

Step 7:
Navigate to the locally hosted website.
Step 8:
During this first visit, you will need to create a username and password.
Step 9:
Once logged in you will see your wireless card capturing data about the networks around you.

The name, SSID, Type, Security, Channels, etc. can be viewed from the main page.
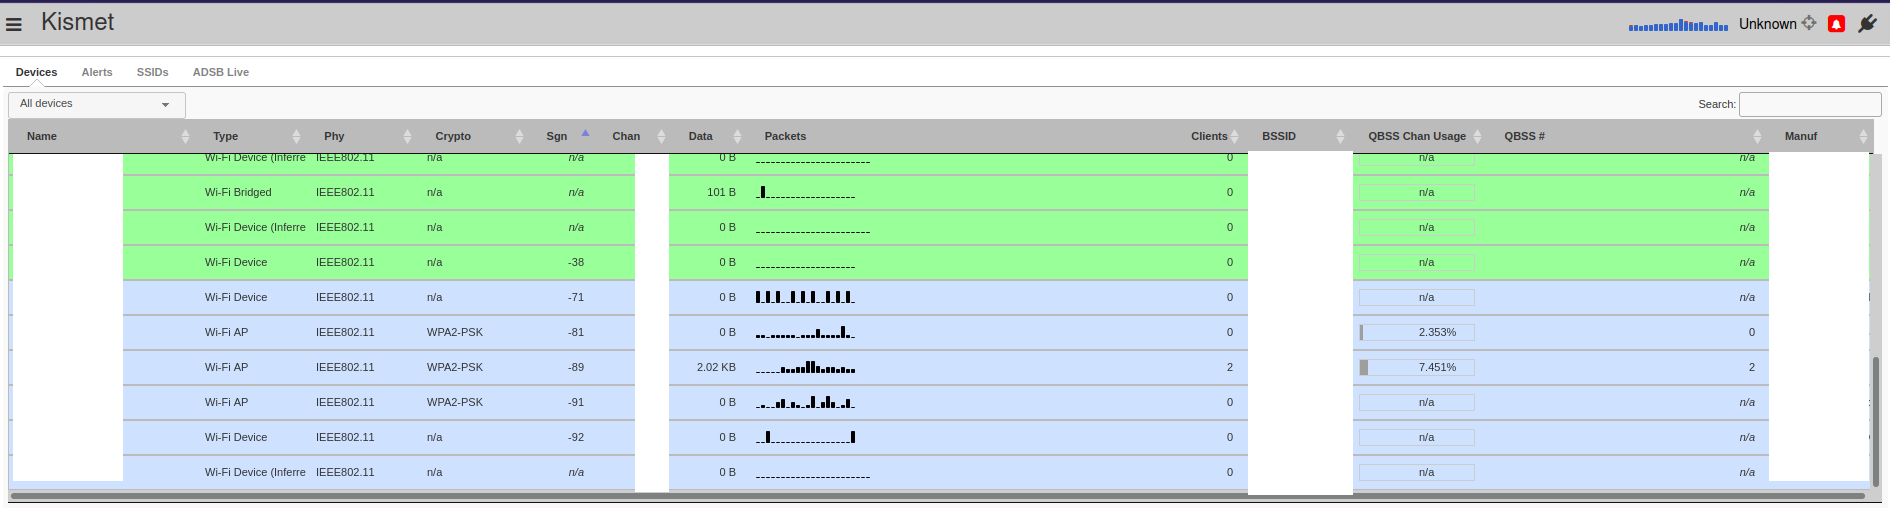
Congratulations, you now have Kismet up and running and finding networks!
For security reasons, this is as far as I will go in the tutorial.
In the future, I plan to make a Wireless Intrusion Detection Service using Kismet where I will go into more details!
6. Summary
This blog post showed you a very brief overview of what Kismet is, and some of its capabilities.
We briefly discussed how to set up and run Kismet.
I suggest you play around with Kismet and find out information about your network and environment.
Remember that actively targeting a wireless network or device that you do not have explicit permission is considered illegal in many jurisdictions.
More resources can be found on the Kismet GitHub here.
Thanks for reading!
If you have suggestions for what tool to cover next, contact me!